Laravel 12 image Upload in public folder with preview in this post, I’ll guide you through the process of uploading an image to the public folder in a Laravel 12 application.
Includes image live preview, image validation, image dimension validation, image type validation, image size validation, Bootstrap 5.3 form, and unique file name generation.
In this tutorial, we’ll create two routes: one using the GET method to render the form, and another using the POST method to handle the image upload. We’ll use a simple Bootstrap form featured file input field. Once a file is selected, it will be previewed on the screen and uploaded to the uploads directory inside the public folder.
Simply follow the steps below to implement file upload functionality in your Laravel 12 application.
Step for Laravel 12 image Upload in public folder with preview:
- Step 1: Install Laravel 12
- Step 2: Create Controller
- Step 3: Create Routes
- Step 4: Create Blade File
- Step 5: Run Laravel App
🛠️ Step 1: Install Laravel 12
If you have not installed Laravel 12 yet, you can create a new project by running the following command:
laravel new laravel-image-upload
Minimum PHP version for Laravel installation
- PHP >= 8.2
🧾 Step 2:Create the Controller
Execute the following command to create a controller dedicated to image upload:
php artisan make:controller ImageController

In this step we will write two methods in ImageController index() and postImage(), controller we will write two methods ‘index()’ and postImage
(). index() method will render the view and postImage() method will do the image validation and the process of uploading and saving the image file to public folder.
Now, open the app/Http/Controllers/ImageController.php and update its content as follows:
<?php
namespace App\Http\Controllers;
use Illuminate\Http\Request;
use Str;
class ImageController extends Controller
{
public function index()
{
return view('image');
}
public function postImage(Request $request){
$request->validate([
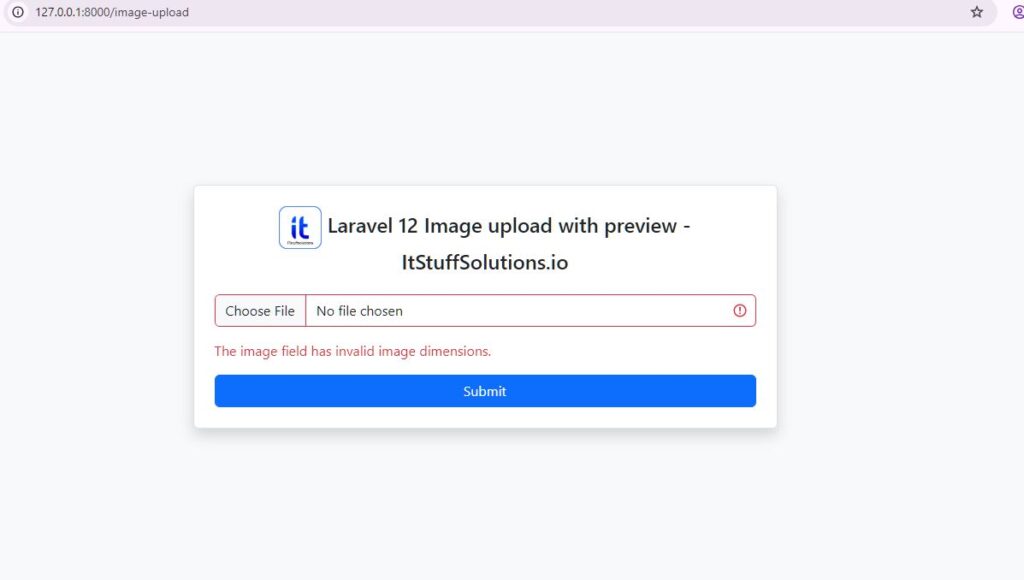
'image' => 'required|image|mimes:jpeg,png,jpg,gif,svg|max:2048 |dimensions:min_width=100,max_width=500',
]);
$imageName = time(). '_' . Str::random(10).'.'.$request->image->extension();
$request->image->move(public_path('uploads'), $imageName);
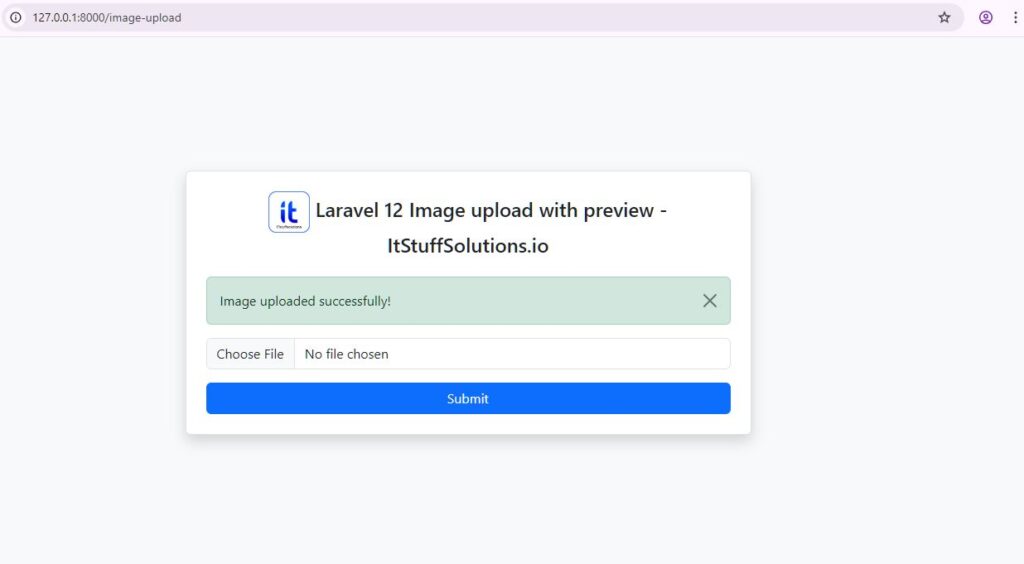
return back()->with('success', 'Image uploaded successfully!');
}
}
Image Validation
required: Image must be uploaded.image: Ensures the uploaded file is an actual image.mimes: Accepts only specific image types (jpeg, png, etc.).max:2048: Limits size to 2MB (in kilobytes).dimensions: Enforces image width between 100px and 500px.
You can remove unnecessary image validation rules if they are not needed.
Generate a unique file name
$imageName = time(). '_' . Str::random(10).'.'.$request->image->extension();
In the postImage() method, we use time() to create a filename based on the current time, so each file has a different name every second. To make it even more unique, we add a random 10-character string using Str::random(10). This helps prevent any conflicts if two images are uploaded at the same time, ensuring every file gets a unique name.
Store Image in Storage Folder
//store file in storage folder
$path = $request->file('image')->storeAs($imageName);
write this code to upload laravel image in storage folder
Store Image in Public Folder
 //store file in public folder
 $request->image->move(public_path('uploads'), $imageName);
write this code to upload laravel image in public folder
🧑 Step 3:Set Up Routes
Next, open the routes/web.php file and add routes to handle the GET request for rendering the view and the POST request for processing the file upload.
<?php

use Illuminate\Support\Facades\Route;
use App\Http\Controllers\ImageController;

Route::get('/', function () {
    return view('welcome');
});
Route::get('/image-upload', [ImageController::class ,'index']);
Route::post('/image-upload', [ImageController::class ,'postImage'])->name('post.image');
📝 Step 4:Create the Blade View
In the final step, create a new file named image.blade.php. Inside this file, we will build a Bootstrap form featured file input button.
Create a new laravel Blade file inside the views folder resources/views/image.blade.php and Copy the code below and paste it into the file:
<!doctype html>
<html lang="en">

<head>
    <meta charset="utf-8">
    <meta name="viewport" content="width=device-width, initial-scale=1">
    <title>Laravel 12 Image upload with preview - ItStuffSolutions.io</title>
    <link href="https://cdn.jsdelivr.net/npm/bootstrap@5.3.6/dist/css/bootstrap.min.css" rel="stylesheet">
</head>

<body>
    <div class="d-flex justify-content-center align-items-center vh-100 bg-light">
        <div class="col-12 col-md-6 col-lg-6">
            <div class="border p-4 rounded bg-white shadow">
                <h4 class="mb-4 text-center"><img src="{{asset('itstuffsolutions.png')}}" width="50"/>   Laravel 12 Image upload with preview - ItStuffSolutions.io</h4>
                @session('success')
                <div class="alert alert-success alert-dismissible fade show" role="alert">
                  {{ $value }}
                <button type="button" class="btn-close" data-bs-dismiss="alert" aria-label="Close"></button>
               </div>
                @endsession
                <form action="{{ route('post.image') }}" method="POST" enctype="multipart/form-data">
                    @csrf
                    <div class="mb-3">
                        <div class="input-group">
                            <input type="file" class="form-control @error('image') is-invalid @enderror"
                                id="inputGroupFile04" aria-describedby="inputGroupFileAddon04" aria-label="Upload"
                                accept="image/*" name="image"
                                onchange="document.getElementById('preview').src = window.URL.createObjectURL(this.files[0]);document.getElementById('preview').style.display = 'block';">
                        </div>
                    </div>
                    <div class="mb-3">
                       @error('image')
                          <div class="text-danger">{{ $message }}</div>
                      @enderror
                    </div>
                    <div class="mb-3">
                        <img id="preview" src="" alt="Image preview"
                            style="max-width: 300px; display: block; border: 1px solid #ccc; padding: 5px;display:none;">
                    </div>


                    <div class="d-grid">
                        <button type="submit" class="btn btn-primary">Submit</button>
                    </div>
                </form>
            </div>
        </div>
    </div>

</body>

</html>
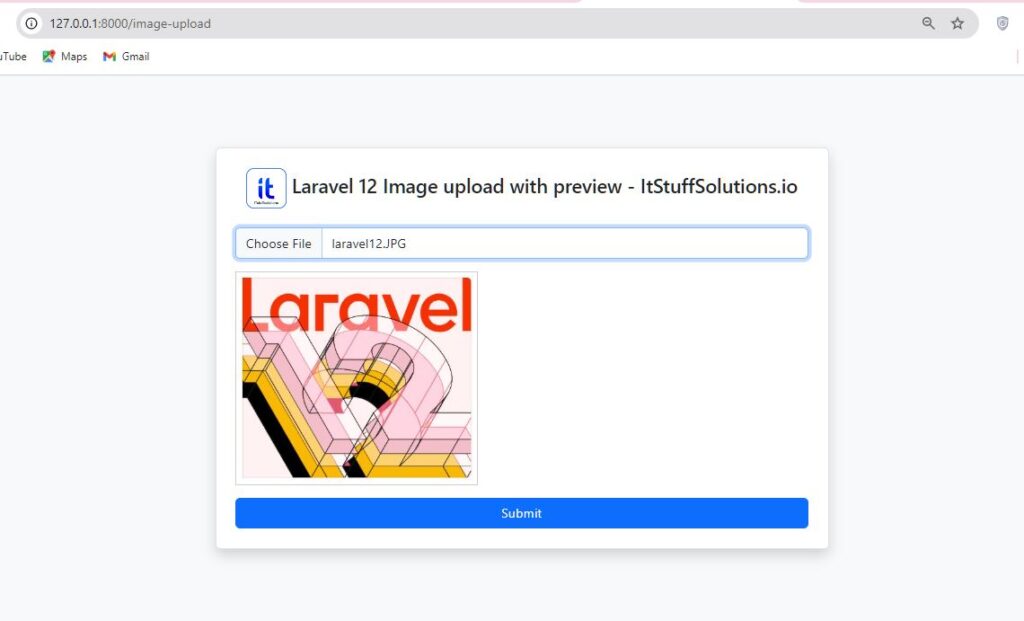
🖼️ Image Upload with Preview
The following input field allows users to upload an image and instantly preview it before submitting the form. This improves user experience by letting them confirm the selected file visually.
<div class="mb-3">
                        <div class="input-group">
                            <input type="file" class="form-control @error('image') is-invalid @enderror"
                                id="inputGroupFile04" aria-describedby="inputGroupFileAddon04" aria-label="Upload"
                                accept="image/*" name="image"
                                onchange="document.getElementById('preview').src = window.URL.createObjectURL(this.files[0]);document.getElementById('preview').style.display = 'block';">
                        </div>
                    </div>
                    <div class="mb-3">
                        <img id="preview" src="" alt="Image preview"
                            style="max-width: 300px; display: block; border: 1px solid #ccc; padding: 5px;display:none;">
                    </div>
Explanation
accept="image/*": Limits file selection to images only (e.g., .jpg, .png, etc.).
onchange="...":- This inline JavaScript triggers when a user selects a file.
window.URL.createObjectURL(this.files[0])generates a temporary URL for the selected image file.document.getElementById('preview').src = ...sets this URL as thesrcof an image element withid="preview".document.getElementById('preview').style.display = 'block';ensures the preview image is visible.
🚀Step 5: Run the Application
All the necessary steps have been done, now we have to run the Laravel image upload application by typing the command given below:
Start the Laravel development server by running:
php artisan serve

Now go to the browser of your system and type the given URL and press enter, you will see the output like the images given below