
In this Laravel 12 Authentication with Breeze tutorial, you’ll learn how to set up a simple and clean authentication system using Laravel Breeze. Breeze provides a minimal, easy-to-customize starting point for Laravel authentication with built-in login, registration, password reset, and email verification features.
The tutorial includes:
- Installing project Laravel 12 Authentication with Breeze
- Installing Laravel Breeze using Composer.
- Running the
breeze:installcommand to scaffold authentication views and routes. - Installing frontend dependencies with
npm installand compiling assets usingnpm run dev. - Running database migrations to create necessary tables with
php artisan migrate.
The blog also includes real screenshots and a simple walkthrough to help beginners understand how Laravel 12 Authentication with Breeze tutorial works in practice.
Let’s build Laravel 12 Authentication with Breeze Tutorial application step by step using Laravel 12 and PHP 8.2.
Prerequisites
Before starting, ensure that the following are already installed:
- PHP >= 8.2
- Composer
- MySQL
Steps for Laravel 12 Authentication with Breeze Tutorial
- Step 1: Install Laravel 12
- Step 2: Install Breeze
- Step 3: Install npm
- Step 4: Setup Database
- Step 5: Run Laravel App:
🛠️ Step 1: Install Laravel 12
First, we need to install Laravel 12 Breeze Authentication application using the following command:
composer create-project --prefer-dist laravel/laravel laravel-authentication-with-breeze
Move into your project folder:
cd laravel-authentication-with-breeze
Read Also : Laravel 12 Bootstrap Auth Scaffolding Tutorial Step by Step
Step 2: Install Breeze
Let’s run the given command to install laravel breeze package using composer:
composer require laravel/breeze --dev
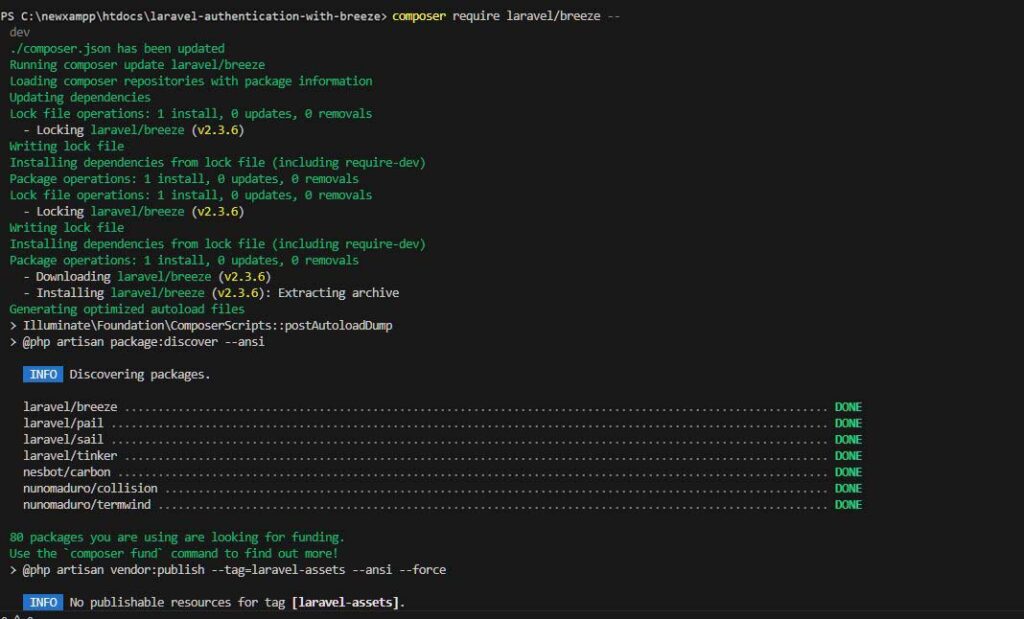
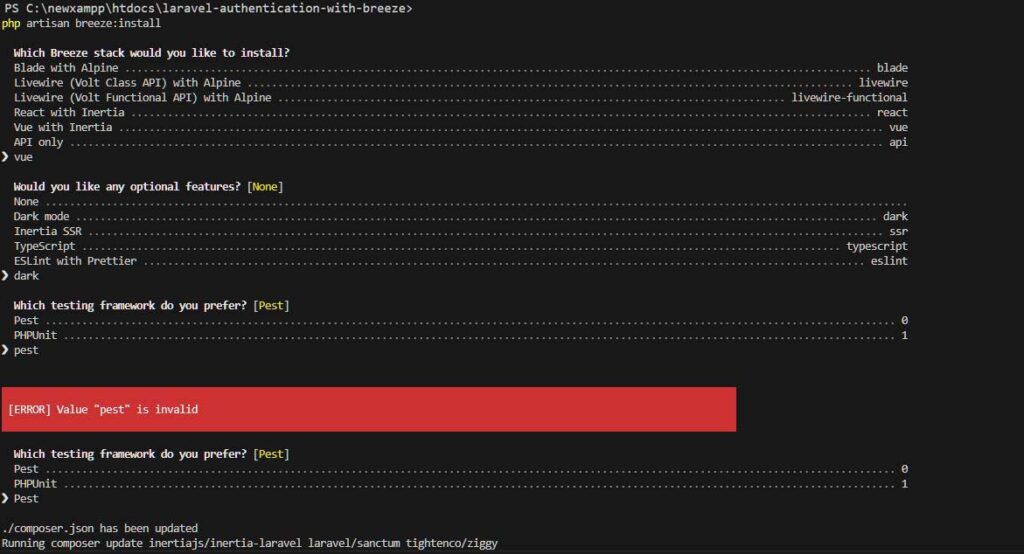
Once laravel breeze package installed, run the below command for auth scaffolding.
php artisan breeze:install
Step 3: Install npm
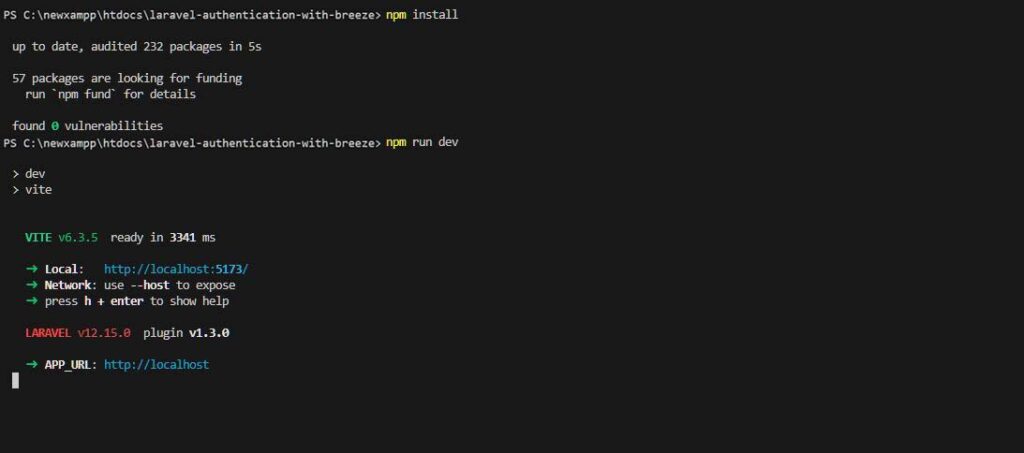
Once the Breeze auth scaffolding is installed successfully, we need to run npm install and npm run dev to build assets like CSS and JS minified files.
Now run the command given below:
npm install
Once npm is installed, run the command below:
npm run dev
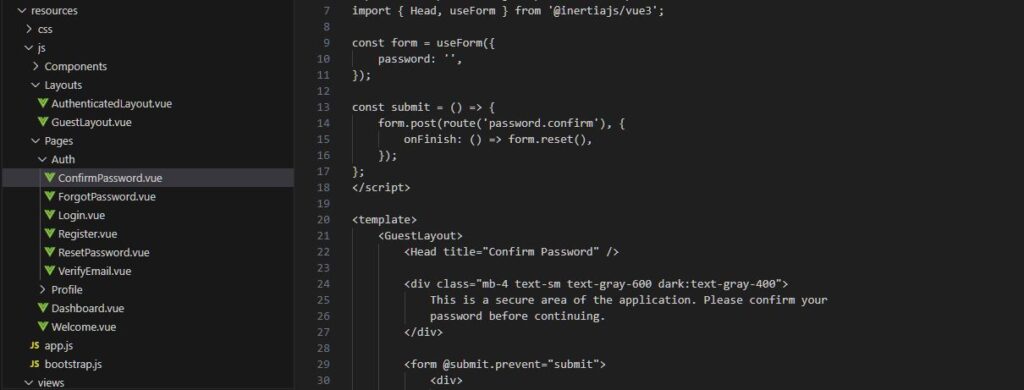
Once the installation is completed successfully, you will have the following files in your laravel-authentication-with-breeze project.


Step 4: Setup Database
Open the .env file and make the following changes as guided below. Here, I am using a MySQL database, so I will change the default SQLite configuration to MySQL.
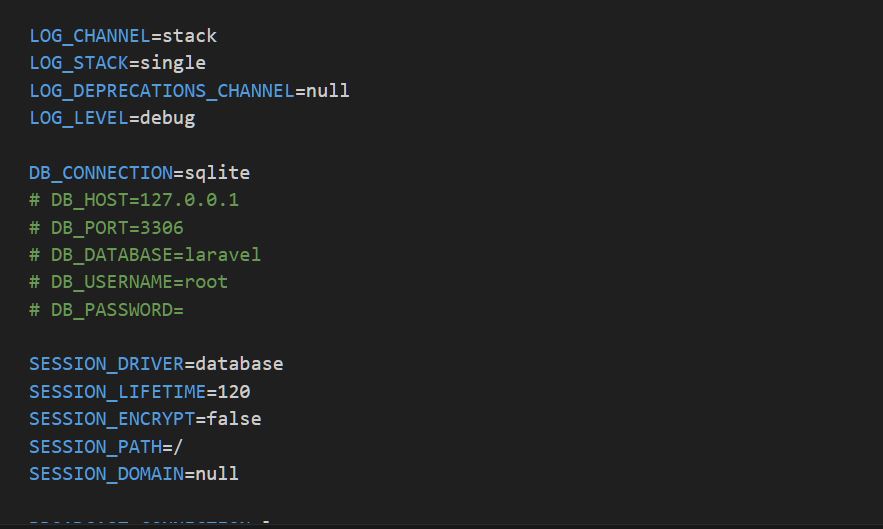
DB_CONNECTION=mysql
Uncomment this line and set the database name to breeze_auth.
DB_HOST=127.0.0.1
DB_PORT=3306
DB_DATABASE=breeze_auth
DB_USERNAME=root
DB_PASSWORD=
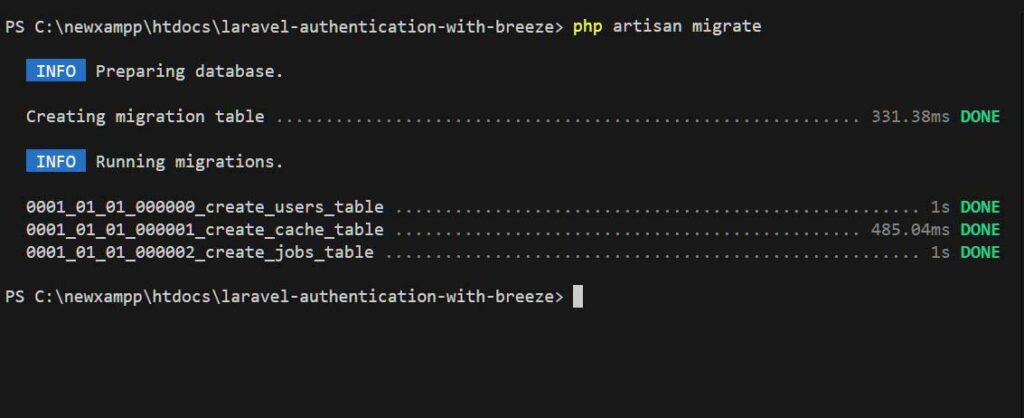
Once you have configured the database details then execute the following command to run the migrations:
php artisan migrate
🚀 Step 5: Run Laravel App Locally
Once you have completed the above step run the following command in your terminal:
php artisan serve
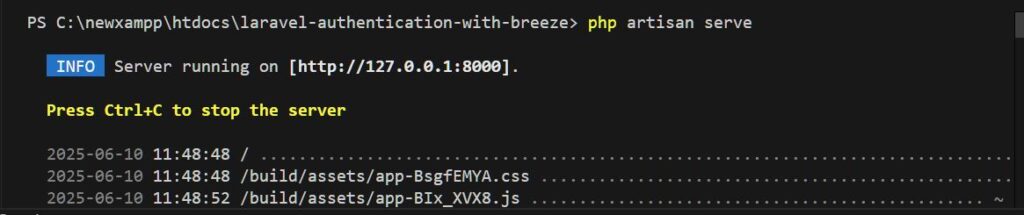
copy and paste the url in your browser:
http://localhost:8000
You should now see the Following pages in your browser.
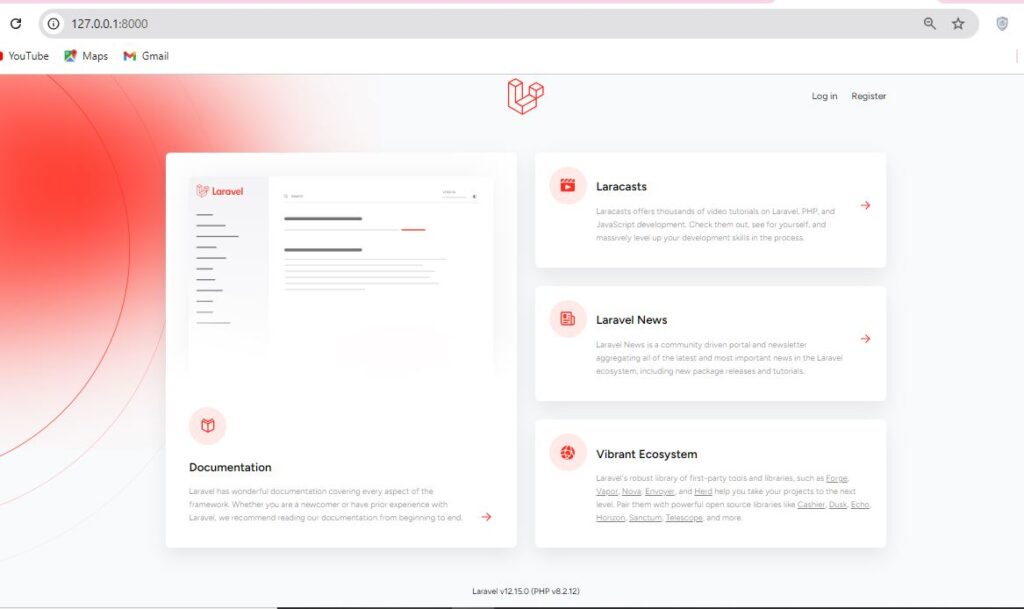
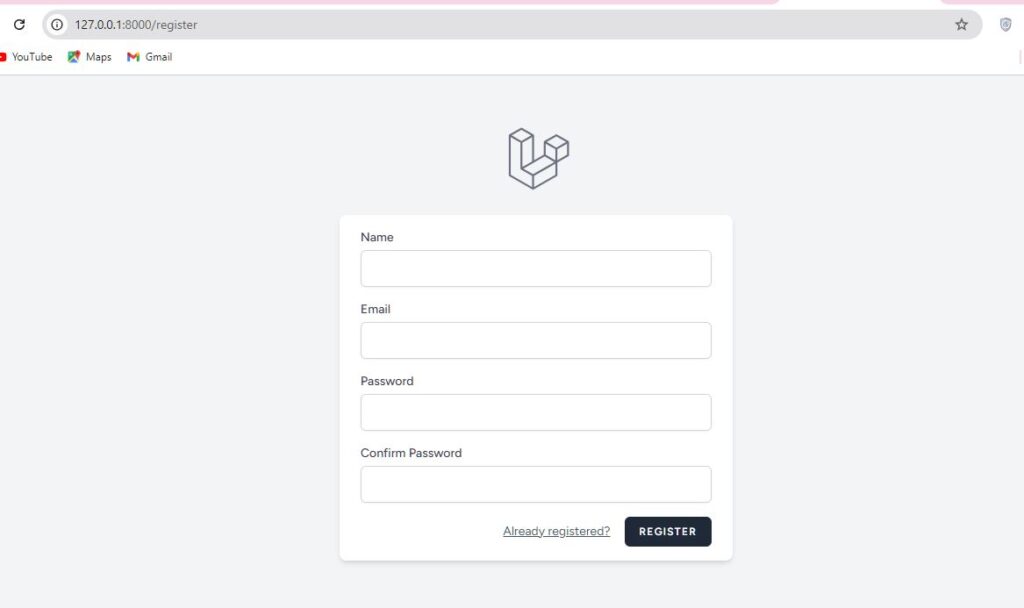
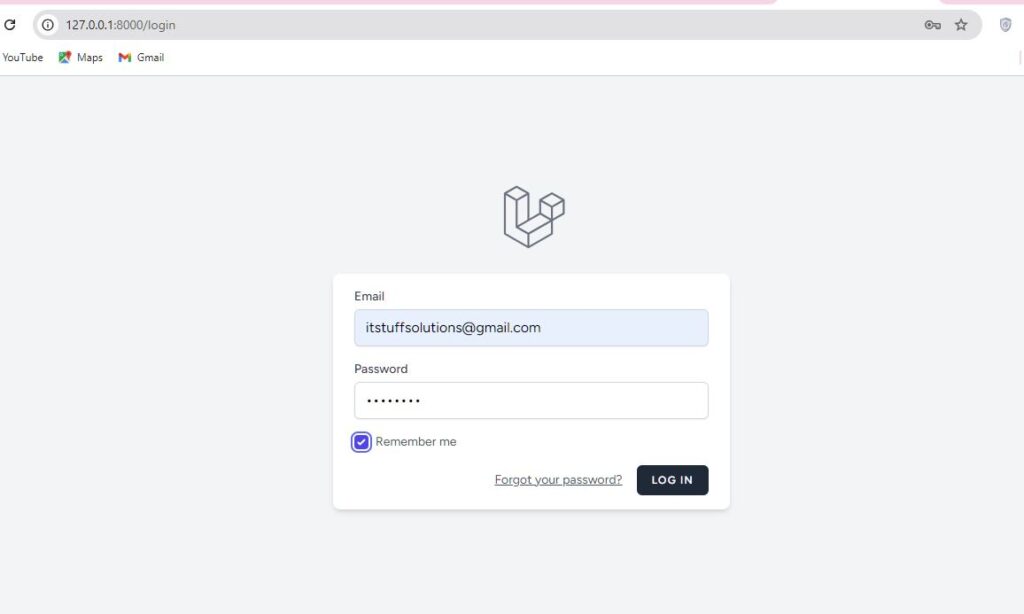
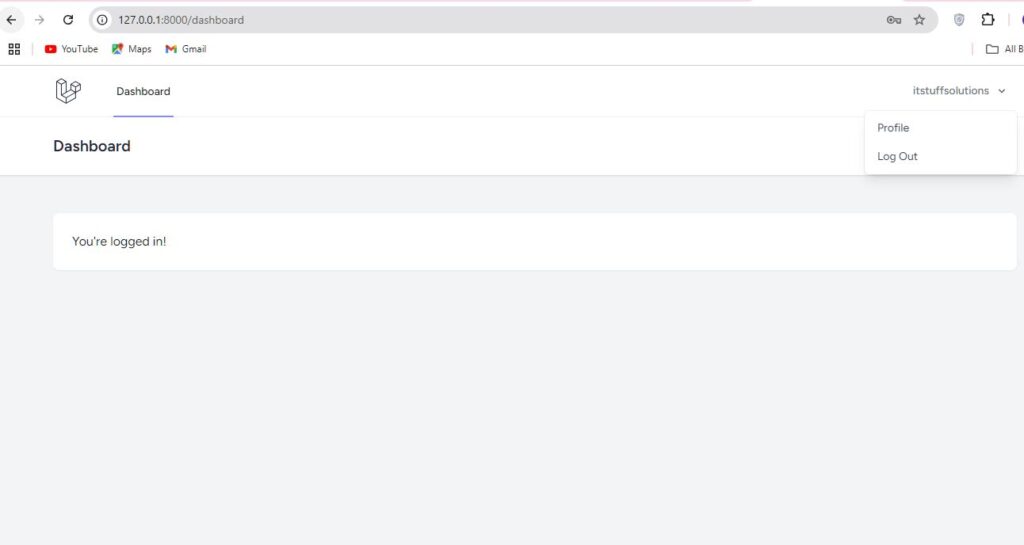

I hope this helps you get started with running your Laravel project locally!
Download Project Full Source Code
You can download the full source code for this project directly from our GitHub repository: https://github.com/itstuffsolutions/laravel-authentication-with-breeze
