In this laravel tutorial , you will learn how to set up Laravel 12 Bootstrap Auth Scaffolding Tutorial Step by Step using the official Laravel UI package. This method is well-suited for developers who choose Bootstrap over Tailwind, Jetstream, or Breeze. For complete instructions and more details, check out the official Laravel documentation here.
Laravel 12 Bootstrap Auth Scaffolding Tutorial Step by Step
What is Laravel UI?
Laravel UI provides basic authentication scaffolding for the Laravel frontend. It offers basic login and registration functionality using your choice of frontend (Bootstrap, Vue, or React). While Laravel Breeze and Jetstream are more modern, Laravel UI is great for those who want lightweight and Bootstrap-based auth scaffolding.
Steps For Laravel 12 Bootstrap Auth Scaffolding
- Step 1: Install Laravel 12 Project
- Step 2: Install Laravel UI Package
- Step 3: Run Migrations
- Step 4: Test Authentication Flow
Step 1: Install Laravel 12 Project
First, create a new Laravel project using Composer, you can skip this step if you have already installed Laravel 12 project, run the following command given below:
composer create-project laravel/laravel laravel-bootstrap-auth
move into your project folder:
cd laravel-bootstrap-auth
Step 2: Install Laravel UI Package
Laravel has removed the default Bootstrap authentication scaffolding, so we need to set it up manually. Run the given command below to install laravel ui package.
composer require laravel/ui
Now that the Laravel UI package has been successfully installed, you can generate the Bootstrap UI along with authentication scaffolding by running the following Artisan command:
php artisan ui bootstrap --auth
This will create: Authentication routes (login, register, password reset), Auth controllers, Blade views using Bootstrap, Layout file for frontend.
To load Bootstrap and related frontend resources, run:
npm install
npm run dev
This will compile all the necessary JS and CSS files using Laravel Mix.
Step 3: Run Migrations
Now set up the database in .env file, then run:
php artisan migrate
This will create the default users table and other auth-related tables.
Step 4: Test Authentication Flow
Start the development server:
php artisan serve
Visit the following URLs in your browser:
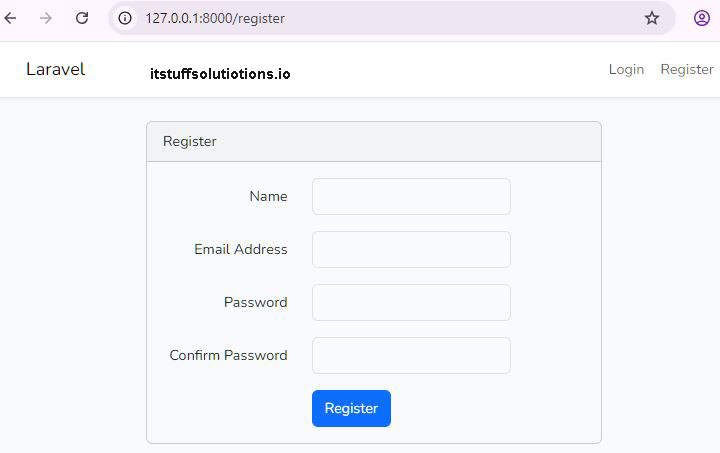
http://127.0.0.1:8000/register – This url for user registration
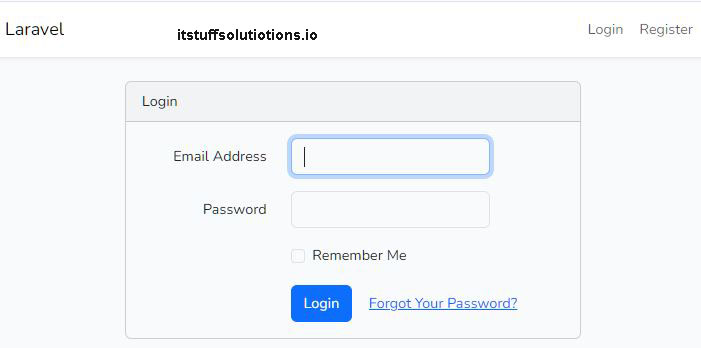
http://127.0.0.1:8000/login – This url for user login
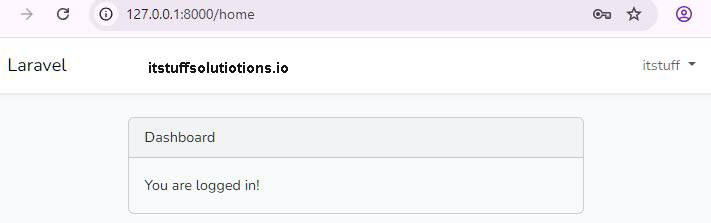
http://127.0.0.1:8000/home – This url for default dashboard after login
You now have a fully working Bootstrap-based authentication system.
Read Also : Laravel 12 Authentication with Breeze Tutorial
Conclusion:
This guide shows how to set up a clean login and registration system in Laravel 12 using Bootstrap. We’ll use Laravel UI to create the auth scaffolding, compile assets, and run migrations. It’s a simple option if you don’t want to use Tailwind, Jetstream, or Breeze.
After running composer require laravel/ui and php artisan ui bootstrap –auth, the steps are:
- npm install && npm run dev
- php artisan migrate
- php artisan serve
This gives you ready-to-use pages for login, register, password reset, and a dashboard at /home after logging in.
The setup works well for both testing and production, as long as your environment variables (like database settings) are correct and migrations are run. If the users table is missing, authentication won’t work.
Frequently Asked Questions (FAQs)
Q1: Does Laravel 12 ship with Bootstrap auth by default?
No—Laravel 12 no longer includes Bootstrap auth scaffolding out of the box; install Laravel UI and run php artisan ui bootstrap –auth to add it.
Q2: What commands are required end-to-end?
Run composer require laravel/ui, then php artisan ui bootstrap –auth, followed by npm install && npm run dev, php artisan migrate, and php artisan serve.
Q3: Do migrations matter for authentication?
Yes, authentication relies on tables like users; skipping php artisan migrate leads to errors such as “Base table or view not found.
Q4: Is php artisan ui bootstrap needed before –auth?
In Laravel UI, the –auth option only works with a chosen frontend preset (like bootstrap, vue, or react). If you just run php artisan ui –auth, it won’t work because Laravel needs to know which frontend scaffolding to use.
Q5: Can this be used with Bootstrap 5?
es, Laravel UI’s Bootstrap preset works with Bootstrap 5; the scaffolding compiles via npm run dev into the app’s CSS/JS.
Q6: What URLs should be tested after setup?
Commonly /register and /login for auth, and /home for the default dashboard after successful authentication.
Q7: Why doesn’t CSS load after scaffolding?
Assets must be compiled (npm install && npm run dev), and in some setups rerunning the compile step resolves missing CSS/JS.
Q8: How is this different from Breeze or Jetstream?
Laravel UI is a minimal starter with Bootstrap views, while Breeze/Jetstream are Tailwind-based kits with modern stacks and extra features.
Q9: Can this be added to an existing Laravel 12 app?
Yes—install Laravel UI, generate the Bootstrap auth scaffold, run migrations, compile assets, and integrate views as needed.
Q10: What if Vite is used instead of Mix?
On newer setups, asset building typically uses Vite; ensure the project’s asset pipeline is configured and run the appropriate dev/build commands.
